How To Push
Buttons for
News Releases
Objective
This SOP outlines the steps for pushing the necessary buttons to distribute news releases (NRs) across various platforms, ensuring a smooth and timely dissemination process.
CHECKLIST & BEST PRACTICES
The day before the release, confirm in the News Release chat that you’ll push the buttons in the morning, log into the client accounts, and connect with the client lead. In the morning, reach out to the client lead to let them know you’re ready to go.
Order of Operations
- Confirm NR has crossed
- Website
- E-blast
- Social
- Repost and updates
Pre-Publishing Tips
- 2FA: Log in early to check if 2FA is needed. Check 1Password for codes (e.g., search "Avant – Investor Email").
- Social Posts: On LinkedIn, link the image directly to the content, as most users will click the image rather than the body link.
- Visual Assets: In Loomly, find and download assets for scheduled posts by selecting Download Media at the top right.
Final Checklist Before Sending
- Website: URL, date, categories (if applicable)
- E-blast: Subject, pre-header, date, special formatting (TM’s, accents, etc.), campaign URL (MailChimp)
- Social: URL, image
- Distribution Lists: Confirm recipients
Post-Publishing Actions
- Check the live webpage
- Confirm social post is live
- Repost to AAIR’s socials - no caption
- Go to the team Marketing chat and type in an update message as follows. “Hi Team, {Client} NR is now out [insert NR link]”
WEBSITE
Wordpress
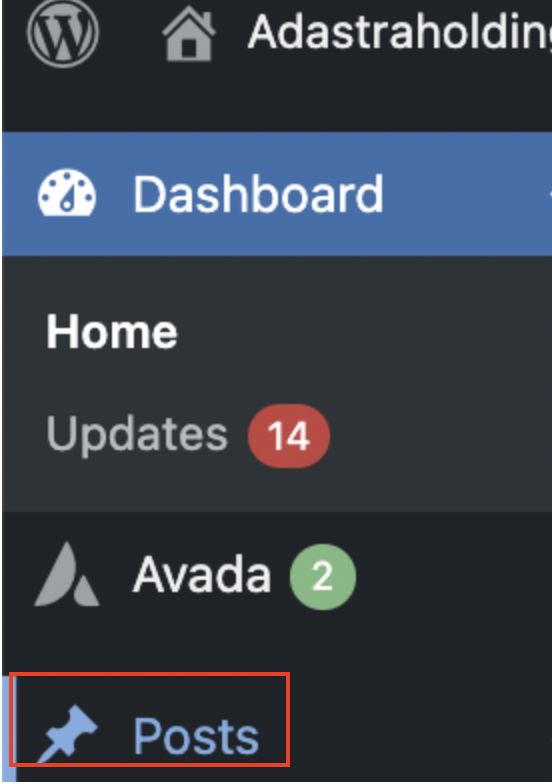
Top left corner, please go to the tab “Posts”.

Look for the drafted PR, and click on “Quick Edit”.
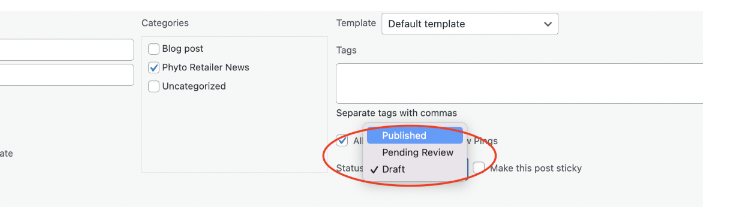
Then change the Status from Draft to “Published” and then click "Update".
Please make sure it’s been published to the live site.
Website
Squarespace
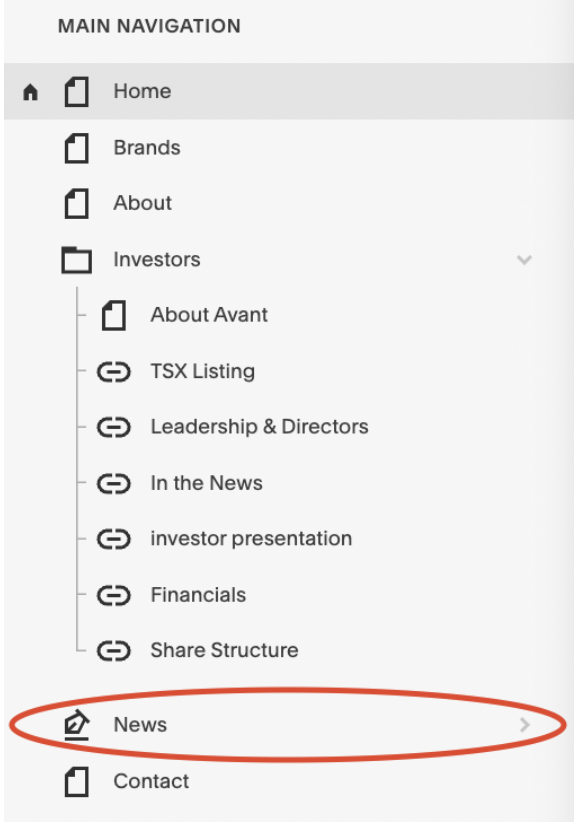
In the left sidebar, look for “News”.
*Tip: Scroll up & down in the sidebar to show to most updated news
Look for the drafted PR
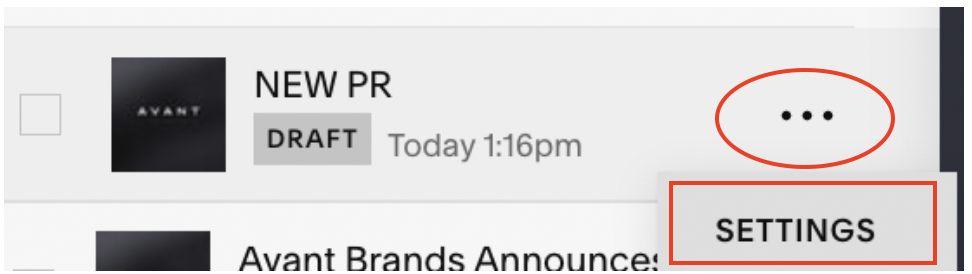
Click on the “...” and then click on “Settings”.

Click on “Options”.
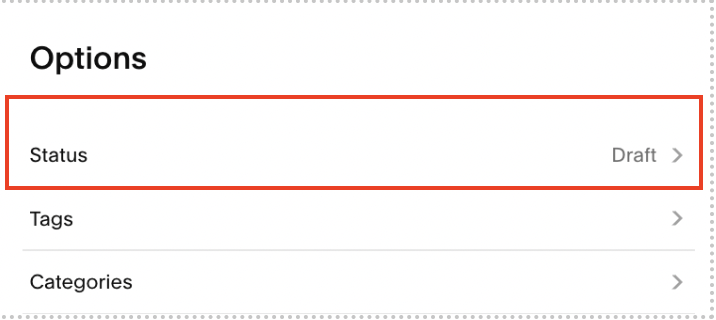
Click on “Status”.
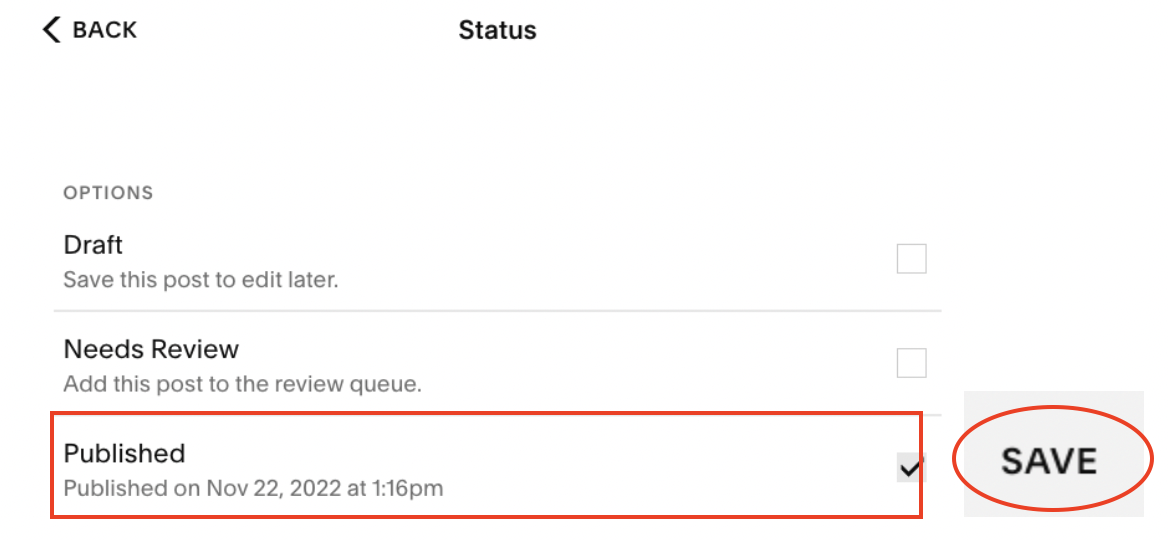
Check box the “Published” and then click save top left corner of the popup.
Please make sure it’s been published to the live site.
Eblast Platform
MailChimp

Top left corner, click on “All Campaigns” under Campaigns.
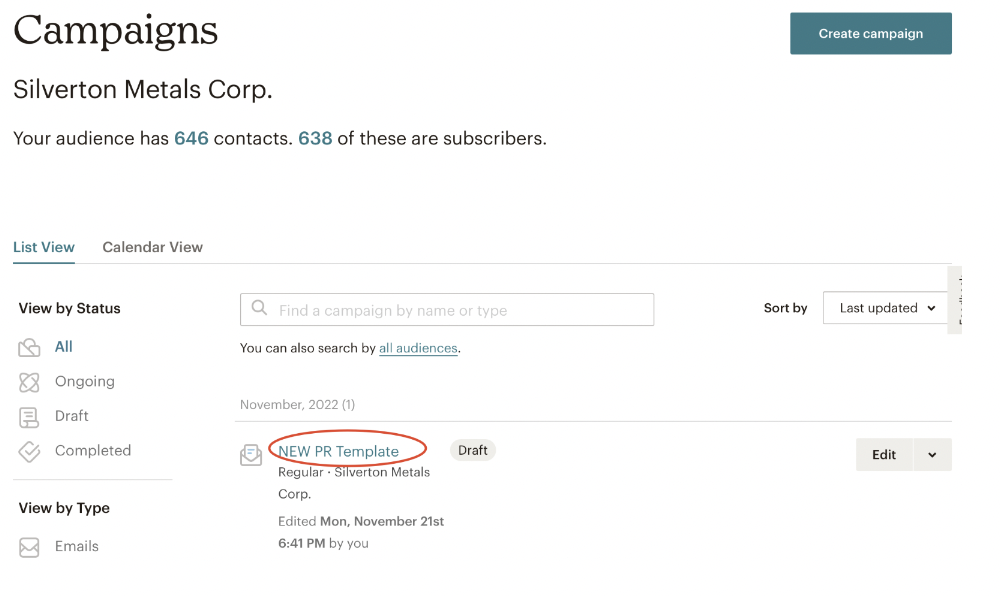
Click on the title of the PR you want to publish. It usually is the first one on top in draft mode.
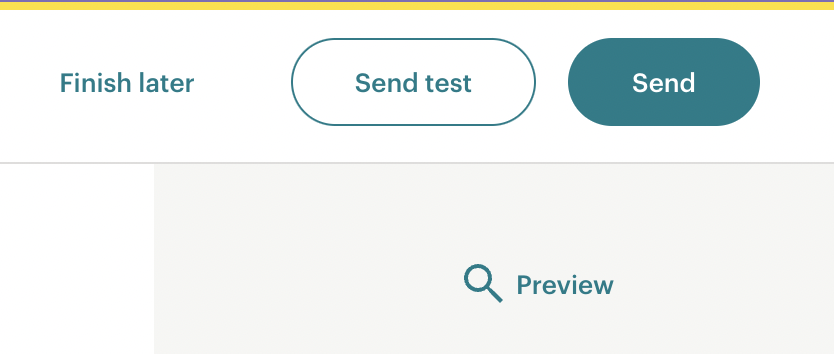
Click on the "Send” button top right.
Eblast Platform
MailerLite

Top left corner, click on “Campaigns”.
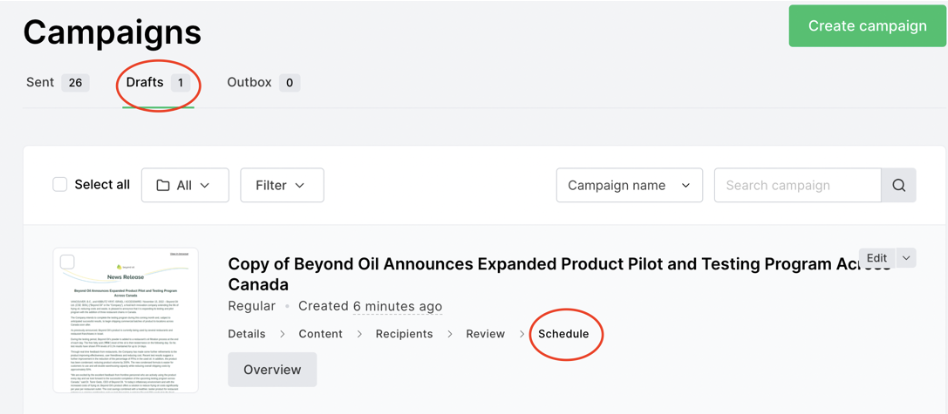
Make sure you’re on the “Drafts” tab then on the drafted e-blast (usually the top one) click on "Schedule".
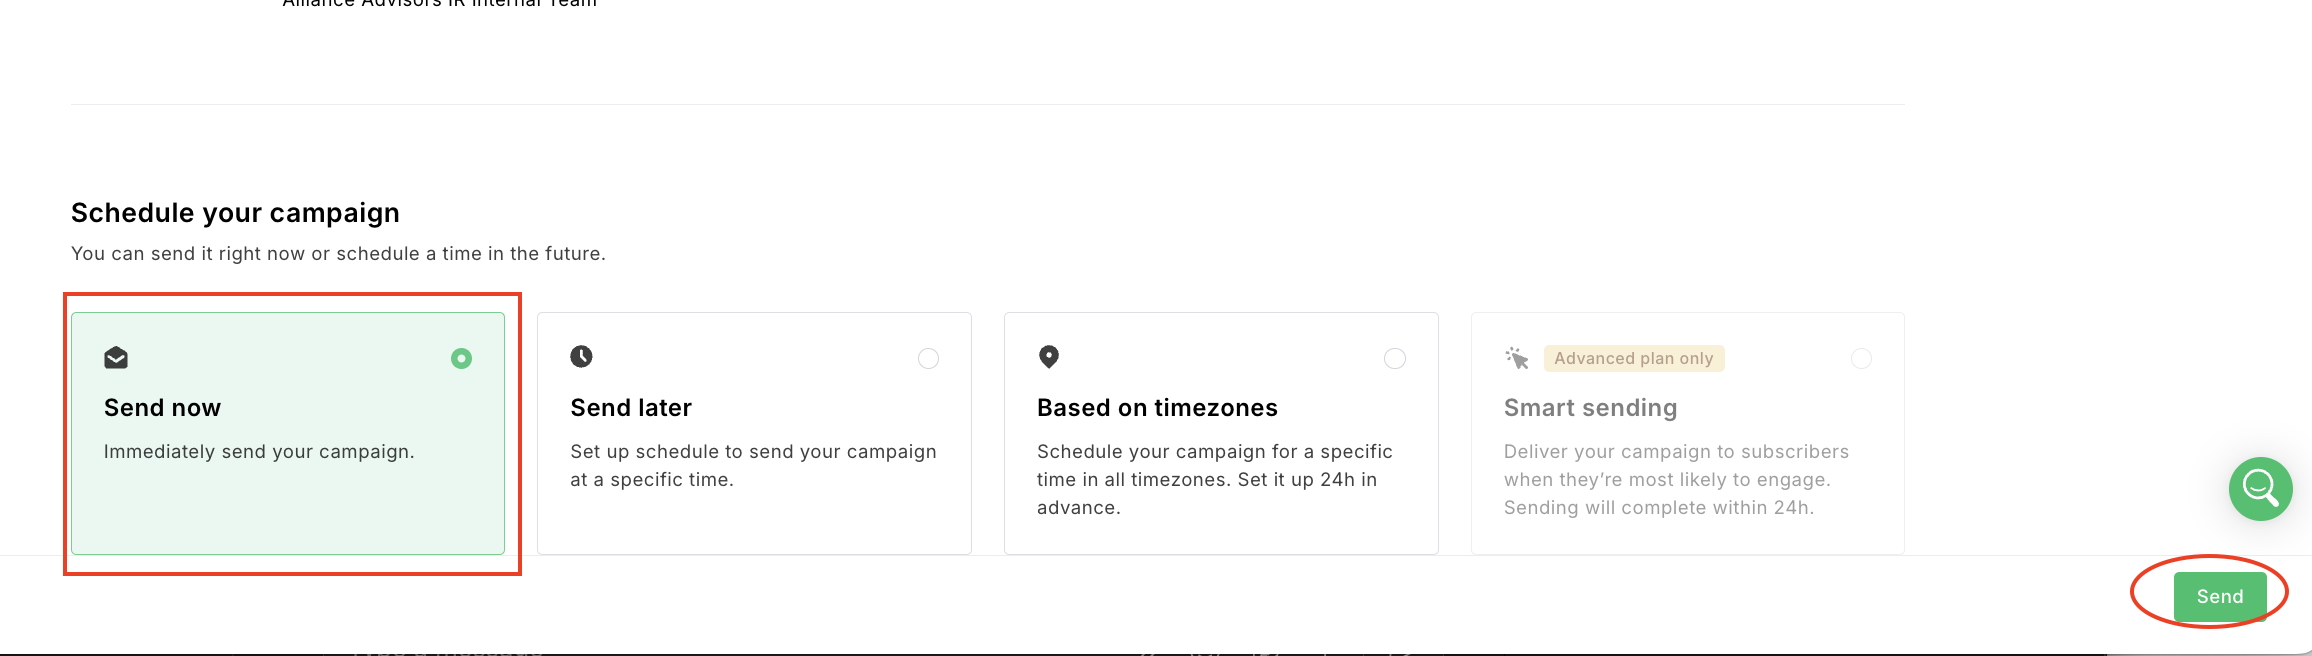
Then, click on the Send now if not already checked, then click on the green button “Send”.
Social
Loomly

In the top left corner, click the dropdown menu to view all our client calendars, then select the desired client.
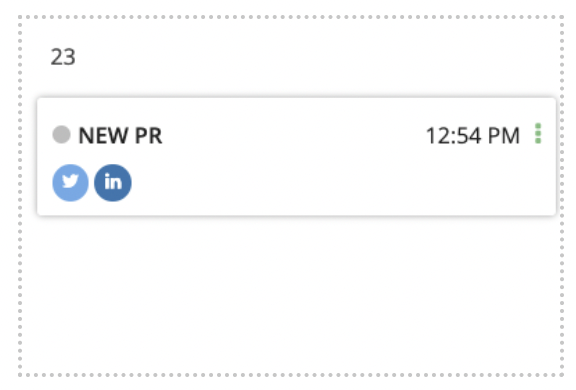
In the calendar, locate today’s scheduled post and click on the title to open the drafted social post.
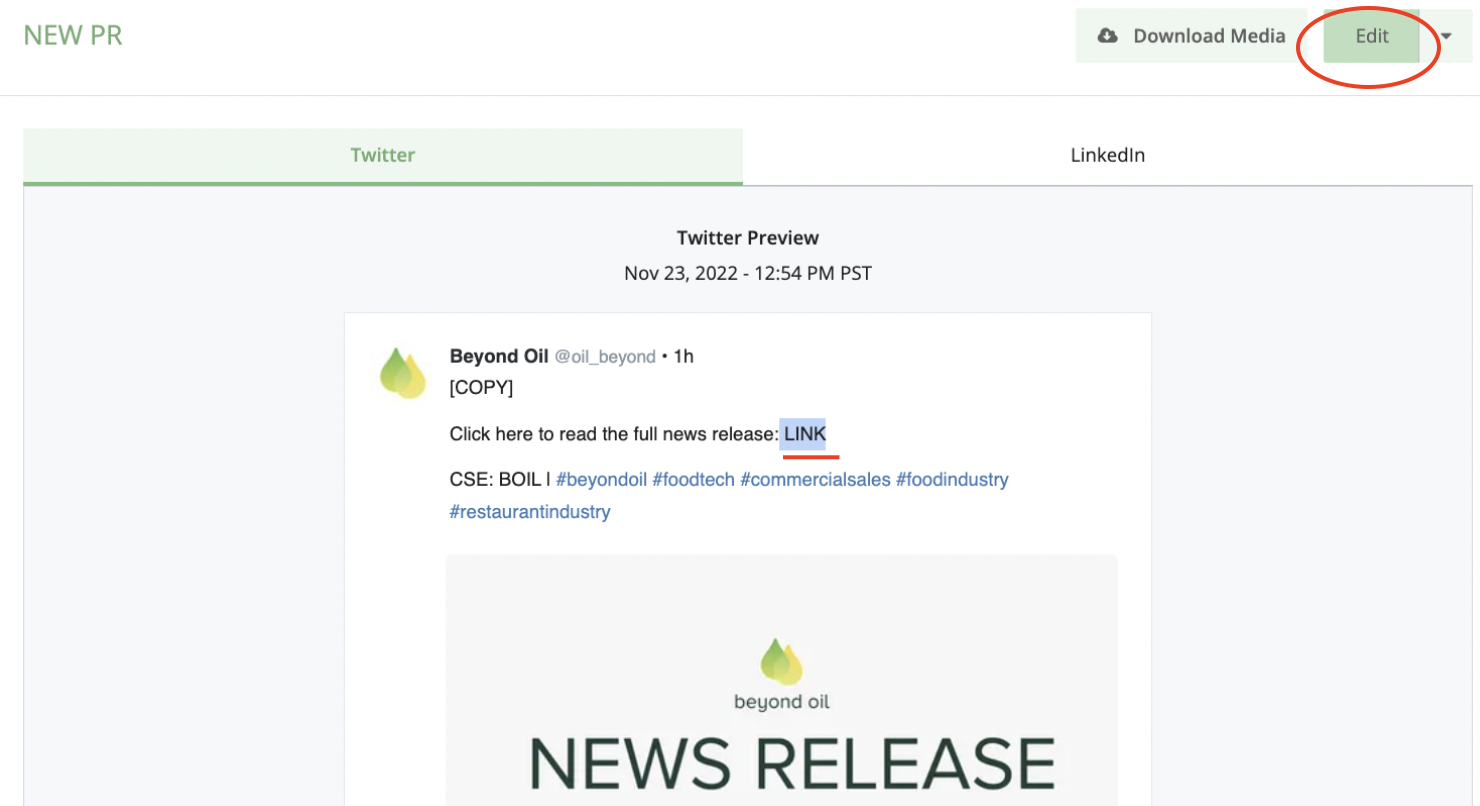
Make sure you have the website link to add into the post, then click on the “Edit” on top right.
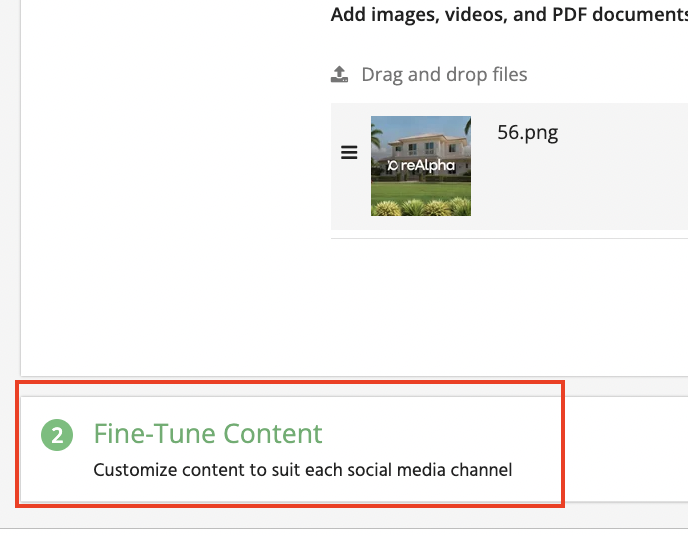
Scroll all the way down and click on the dropdown called "“Fine-Tune Content”.
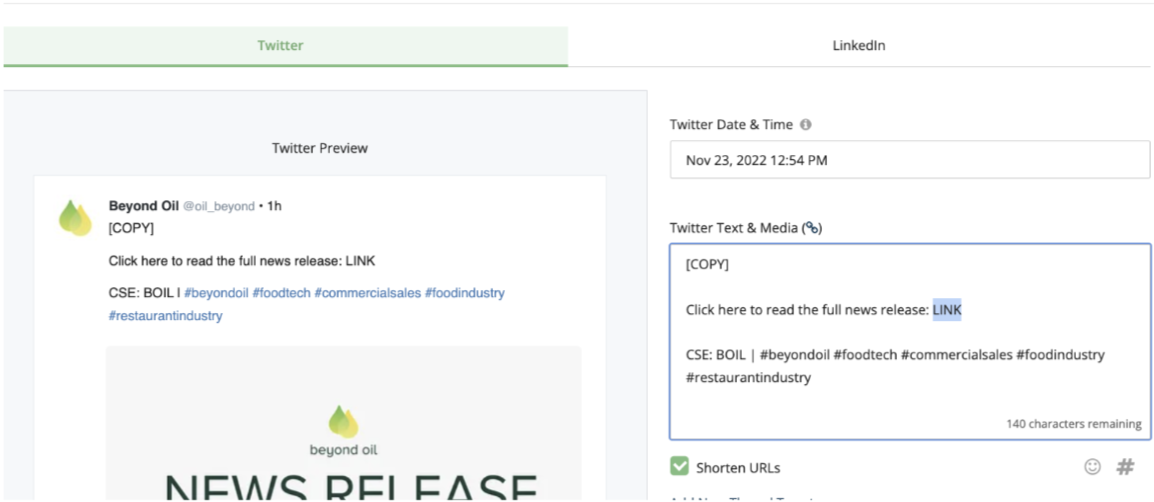
Go to each channel (Twitter, LinkedIn or Facebook tab) and manually add the link where it says so.
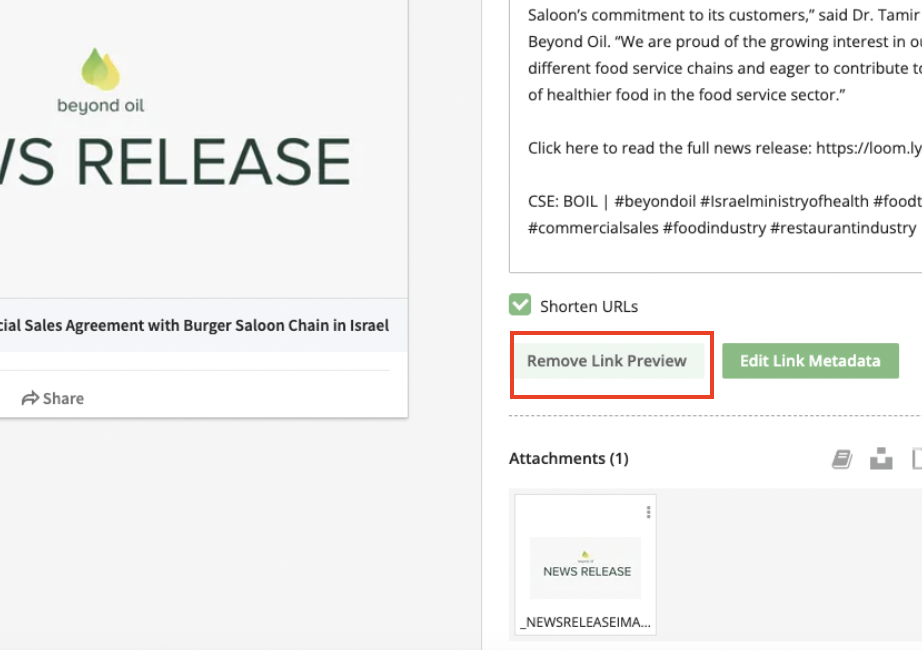
Please remove Link Previews for all social platforms.
Once everything looks good, click on "Publish Now" green button on the bottom right corner.